Check out the details and pics of how I relocated my gas tank in the rear of my Vitara/Tracker to gain about 7″ of ground clearance behind the rear tires!
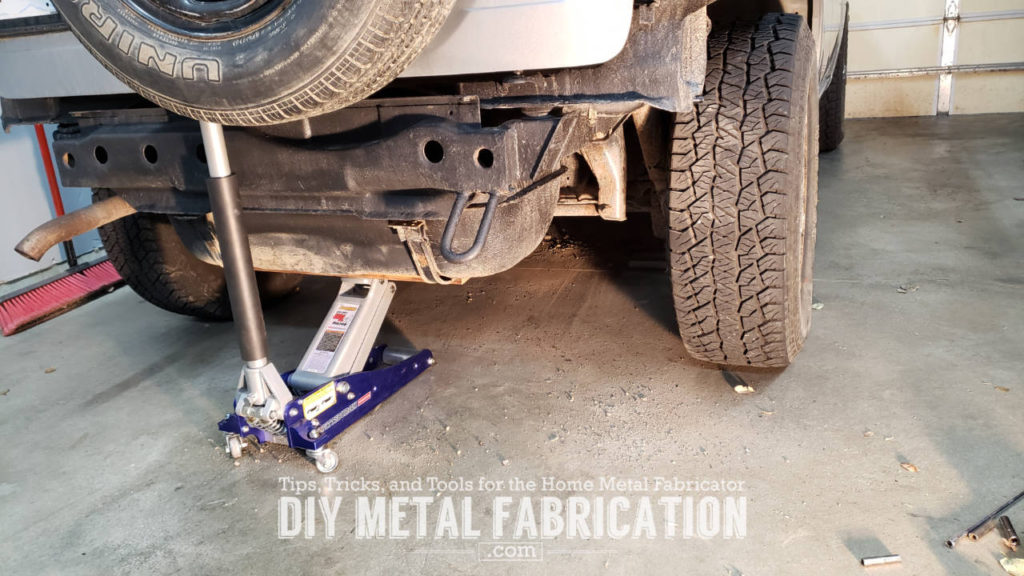
When I picked up my Suzuki Vitara dubbed ‘PJ’, I wanted it to be a super cheap yet capable offroader. On my first offroading trips, the biggest hangup was the gas tank hanging super low in the rear. There was less than 12″ of clearance under the tank and I bottomed out on it often which left some big dents. This wasn’t working for me, so the tank had to go… somewhere else.
In lieu of adding expensive beefed up skid plates both in dollars and weight, it will be way better in the long run if I just relocate the tank itself. This is the hard/long way to do it though since it will take a significant amount of cutting and welding to accomplish.
Warning
This project is not going to be for the faint of heart. I am cutting out and welding in new cross-members and large pieces of the body. For some reason I find a tremendous amount of joy in cutting things apart, making them better, and welding them back together.


Starting disassembly
I had already ditched my rear bumper and the sheetmetal cabin air vents that hung down below the quarter panels (check the video HERE). Because of this I had a good hole to look through between the rear crossmember and the body to unhook lines.
This task is obviously easier when the tank is not full, so plan ahead if you can. Mine is about 1/3 full and is light enough that I can pick it up by myself without too much effort.


Making room
On these little trucks, there isn’t much room in the back to package everything which explains why the gas tank hangs low and the spare tire hangs off the back.
I am going to sacrifice some cargo room here in exchange for ground clearance. Most of my wheeling trips are day trips anyways so it isn’t like I am packing for a week (if so I can always throw bags on the roof or something).

Measuring. Thinking. Measuring. Thinking. THEN I start cutting.
This was about the time I started thinking ‘maybe it would be easier if I just bought a fuel cell that actually fit better’. But I changed my mind very quickly after looking up how much a fuel cell, pump, and everything else needed for it cost. Guess I am going to re-use all of the factory parts!

The rear crossmember will be beefed up later when I build a rear bumper.


Still using my original diamond cutoff wheel. Haven’t worn it out yet!

As a side note, this sheetmetal is really thin. Probably one of the main factors these rigs are so light (not complaining, just an observation).


Good enough for me, this part will get covered up.


PJ will go from having ~12″ ground clearance under the rear to over 19″!

By lifting the gas tank instead of the suspension, I can keep the suspension stock yet have more clearance as if it was lifted. Lifts and bigger tires are a slippery slope that leads to breaking axles that then have to be upgraded. I have played this game and it never ends.
Therefore I am trying to ‘optimize’ to see how far I can take this thing using sweat equity without actually spending any money on it.
Hope this was interesting and educational. Stay tuned for Part 2 where I start putting everything back together with some new crossmembers and work on relocating the EVAP system.
Now YOU, go outside and work on something!
Got a project in mind?
If you're tired of getting ignored by big shops or just want someone who actually gives a damn about the build, that's what I do.
Let's talk →