I recently moved into an office at work. Remembering that I had an old projector in the basement at home gave me an idea. I could use my projector at work, but didn’t have anywhere to mount it and couldn’t really drill holes in the desk or wall. Read more to see the solution I came up with.
The office is pretty small, so I was limited on space. The projector needed to be all the way against the wall on one side and display on a white board on the other.
So, I started my project the way I usually do by drawing a picture. (picture describes this well because it isn’t nearly good enough to be called an engineered drawing…)

I then went to the scrap pile and grabbed some supplies. For this project it consists of a 12″x12″ piece of used 10 gauge steel from the bottom of my rusty fire pit, two ~3ft long sticks of 1/2″x1/2″ solid square stock, and a big magnet.

Next up I needed to clean up my piece of rusty steel. Since I wasn’t going for perfection, I just grabbed my 4.5″ grinder and a 36 grit ‘Fibre Disc’ to knock off the rust.
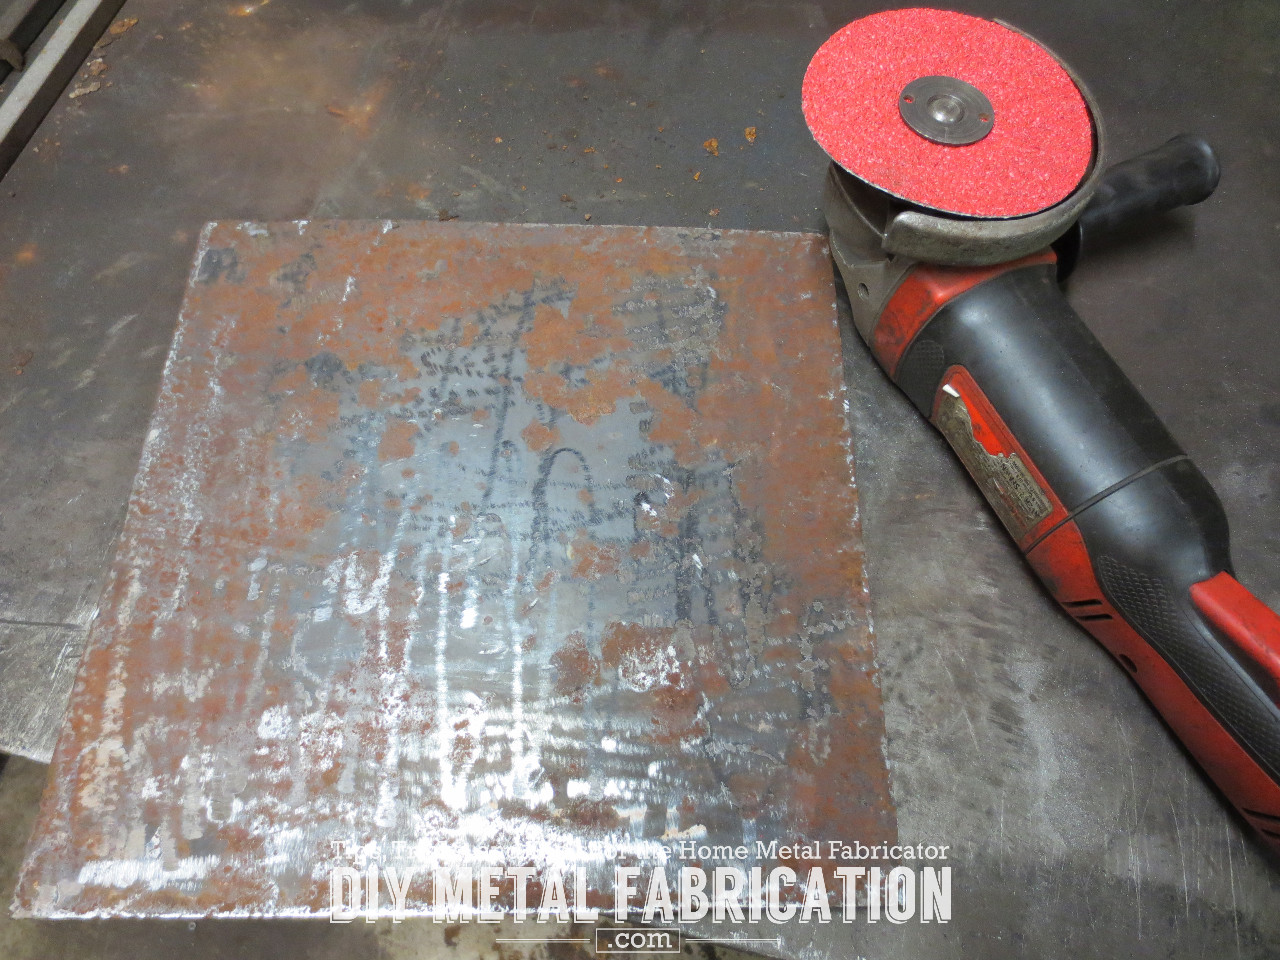
These sanding disks are a great way to ‘sand’ down metal without making a bunch of grooves in it with a grinding wheel. Check out the links below to read some more on them.
These disks mount to a hard plastic holder and can usually be found in Diablo, Norton, or 3M brands.

Notice the tube keeps the bend tight instead of making a long curve across the whole rod.

Next up, throw the legs on the plate with some right angle welding magnets, and weld them on!

Time to add a lateral support brace so the legs aren’t wobbly.

An easy way to get the brace straight is to use a small carpenters square.

Now I need to weld on some tabs to bolt the magnets onto the legs. I happened to have some of these tabs laying around, but you could just as easily weld on some flat washers instead.

I then bolted up one magnet to make sure it worked and ordered 3 more. This one is a ~3″ diameter 95lb pull magnet that is available on Amazon HERE.

Time for paint!
I have REALLY grown to like rolling on paint. It is so easy, and aside from a couple of drips there is no overspray and it doesn’t cover everything in the garage with a fine mist.


I didn’t feel like getting a brush out and there were a couple spots I couldn’t get to. No big deal, I just grabbed a can of spray paint and touch it up.


Bolting on the magnets


Since The unit is mounted with magnets, it was super easy to install. I didn’t have to ask for permission to put holes in the wall or my desk to mount it.


Gotta add some flare with some old stickers I had laying around.

Now that I have a projector in my office, if we need to review something quickly we can just throw it up on the board instead of staring at a tiny screen or trying to find an open conference room.

DIY Metal Fabrication is all about identifying a need and fixing it yourself through a creative solution.
In this example what I built isn’t something I could just go out and buy. Since the investment in tools has already been made, the project cost becomes just time, materials, and consumables (welding wire, grinding disks, etc.).
Got examples of simple solutions you used your metal skills to build for home or the office? Post them up below!
Got a project in mind?
If you're tired of getting ignored by big shops or just want someone who actually gives a damn about the build, that's what I do.
Let's talk →
Thanks for showing me a cheap way to build a projector stand. ❤