Staking out the shop, getting semi trucks full of dirt delivered, and spreading it out! Also some quick education on how to measure to see if your building layout is square and how to set string lines with a laser.

Not all dirt is created equal. If you need fill for the pad where you are going to put up your shop, make sure you consult with both the builder and local contractors. I specifically asked for CLAY FILL dirt, not top soil. There is a difference in compaction ability. Clay fill seemed to be quite a bit harder to find in my area.


The dump truck driver did a great job staying off the driveway and also not crushing my culvert! The spot he had to drive through was only a foot or two wider than the truck itself.


Up to this point we were just eyeballing the pad since we knew it was low on the East (right side in the above two pictures). However that isn’t good enough. Per the contract I signed with the pole barn builder, the pad needs to be within 2″ of level. Not one to pay others to do stuff unnecessarily, I taught myself how to make these measurements myself!
How to lay out building corners and make sure it is square
This is actually pretty easy to do once you understand and see some pics. After the dirt work was done, I needed to re-layout two of my T-posts since we had taken them out while doing the dirt. I couldn’t see the hole so I had to re-measure.
To lay the posts out, you need two tape measures with the length at least as long as your building. I bought two different 100′ tape measures for this, one was a closed reel Dewalt and the other an open reel Amazon brand measure. I gotta say though the Dewalt is AWESOME! It has this mechanism inside that makes it rewind 5x faster that is super handy.

I had no idea how to do this before this project, but now that I know it is actually pretty easy.
- Start by putting out your first post where you know the front corner of the building will be.
- Next measure out the length of your building in the direction it will sit and put in your second post (in my case 48′ long). This second post is critical because it will determine the angle your building will sit at on the property.
- For the third post, you will need to make sure it is square. Get two 100′ tape measures and zip tie the end to each post you just put up.
- Measure out the width of your building with the first tape measure, then you can just drop it in the dirt, we will need it later. In my case this was 30′.
- For the measurement from the other post, we need to do a tiny bit of math with the Pythagorean Theorem or cheat and use this online calculator: Foundation Squaring Calculator
How to calculate the diagonal measurement yourself
Don’t let your brain melt! All we are doing is finding the length of the long side of a triangle!
The math in case you want to do it yourself is: building length squared + building width squared = building diagonal length squared. So if we take the square root of the result then that is the length we need to measure.
- Example on my building:
- 48² + 30² = diag²
- 2,304 + 900 = 3,204
- √3,204 = 56.60‘


You can then repeat for the 4th post. Leave the tape measures attached to the two poles then walk over to where the last corner will be. In my case when I got to 30ft wide and 56.6ft diagonal then I have hit my mark!
How to check grade and set string lines

I got by with a cross laser I already had but if I were to do it again, I would get one with a 360 laser. I got into some situations where I wanted to measure off to the side and was out of the range of the laser and had to re-set it up which cost quite a bit of time and some accuracy.
This is the one I would buy if I were to do it again. It has a pulse mode so if you wanted to add a laser receiver later you could:


The laser is set where the garage floor in the new shop will be, so we are measuring DOWN from the floor. For my shop I am subtracting 5″ for concrete and 4″ for gravel which totals -9″. This gives us the level that our dirt should be at.

I did this myself so I didn’t have to pay my dirt guy to spend time doing it. I will end up doing this a couple more times before this project is done.


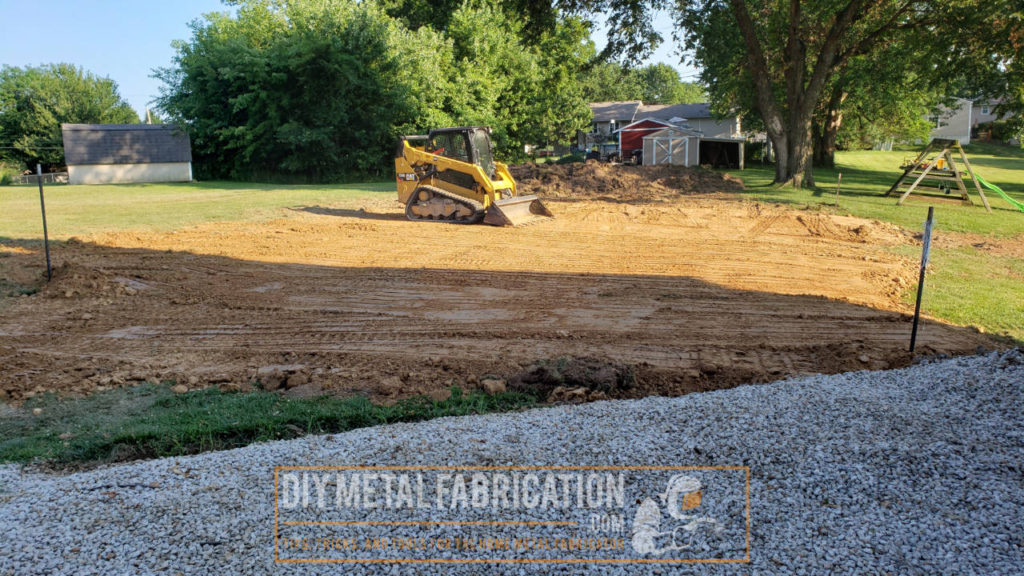
That is it for this update! So here we sit with a somewhat level pad and 10 yards of dirt waiting to be spread out (for over a week now). I am learning some hard lessons in construction about weather, schedules, and multiple contractors. Just remember to BE PATIENT, everything will take longer than you think it should, but it will be worth it in the end.
Now YOU, go outside and work on something!
Got a project in mind?
If you're tired of getting ignored by big shops or just want someone who actually gives a damn about the build, that's what I do.
Let's talk →