I recently bought a non-running Toyota MR2. Read more to see how I diagnosed it to be the fuel pump that was the issue and how I fixed it!
Dragging it home
Here is what it looked like when I first saw it. My wife and I were walking back from the park in our neighborhood with the kids/dog and I got the evil eye because she saw me looking at it 😛
I’m a sucker for reviving old projects that still have potential. After making a new friend and working out a deal it followed me home!
Since it was already on the trailer, I had him drop it off at my house. Then the next night I pushed it inside to begin the operation.
Looking back at this picture makes me realize how rough it actually was when I got it. Looks way different now. 😯
Diagnosing the fuel pump
Before I bought it, I was able to tell that it at least ran on starting fluid. Sounded like the engine was alright, not knocking, and in time (at least enough to run on starting fluid).
The next basic step is to just give both the fuse block in the frunk and the engine bay a once over to make sure there are no blown or missing fuses.
After some Googling, I found that there is a diagnostic block you can jump some pins on to get the fuel pump to kick on with the key in the on position.
In the diagnostic block with a scrap piece of wire jump between the B+ and Fp terminals. This will cause the fuel pump to run at all times when the key is in the on position (don’t have to be actively cranking the engine to test).
There are two ways to see if the fuel pump is working after jumping the terminals. The first and easiest is to just listen if you can hear the fuel pump running. It is in the middle of the car going front to back beneath the center console. I heard no fuel pumpy type noises.
The second way to tell is to take off the fuel return line then stick it into an empty bottle and see if any fuel comes out.
Fuel return line stuck into a bottle. Unfortunately this confirmed that my pump was not pumping.
Now that we are certain the pump is not pumping, it could still be for more than one reason. Next up is testing the electrical connection to the fuel pump.
After removing the center console, I unplugged the fuel pump connector and probed it with my multimeter. This confirmed that my fuel pump was definitely getting power at least up to the connector it plugs into.
There are only two wire bundles going to the tank through this grommet. The three wire one goes to the fuel tank sending unit and the two wire one is + and – for the fuel pump. Here the holes in the rear of the connector were sufficiently big enough for me to stick my probes in from the back without unplugging it to check for voltage. This also tells us that all the relays, fuses, etc. are good up to this point.
Replacing the Fuel Pump
Now that we are 99% sure it is the actual fuel pump that is dead, we need to start pulling the tank. Seems like everybody says the fuel tank is ‘the worst job on an MR2’. For what it is worth, I honestly didn’t think it was that bad and I did it completely by myself. If you had help, it would probably go faster. Just make sure you have your patient pants on because as you will see these old parts sometimes don’t play nicely.
I didn’t take pictures of every single step, so some of this will just be a general guide. Honestly I watched this video a couple times and won’t even try to replicate it because he did a pretty good job. Consider my article below extra guidance.
First I got the car up and on jack stands in the front then jacked it up and put oil change ramps backwards under the rear tires. Pic of that later.
I jacked the car up and put it on oil change ramps and some spare wheels. Jack stands would have worked just as well. Then took off the skid plates/splash shields so I could see the crossmembers and linkages. The parking brake and 3 crossmembers need removed. (My parking brake was already removed for me, it came in the trunk with the car…) You do not need to remove the parking brake cable that goes into the car from this bracket, once unbolted from the car the crossmember can just be laid to the side.Unbolt the crossmembers, straps, loosen all of the hoses at the top rear of the tank. There is a plastic guard between the engine and firewall that once removes gives more room for taking these off.
I pulled this tank by myself and it was still over half full. I think the tank on these is only like 10 gallons so it wasn’t all that heavy.Next, I grabbed a big funnel and dumped the old gas into some jugs. It was still ok-ish as some fresh gas had been added to it recently. I ended up using this in my mower, it didn’t mind.Next, I sprayed down all the bolts with penetrant and let it sit for a while since the bolts were rusty. I then zipped them off with my small impact. The black cylinder in the pan is the old fuel filter which I also replaced while doing this job.
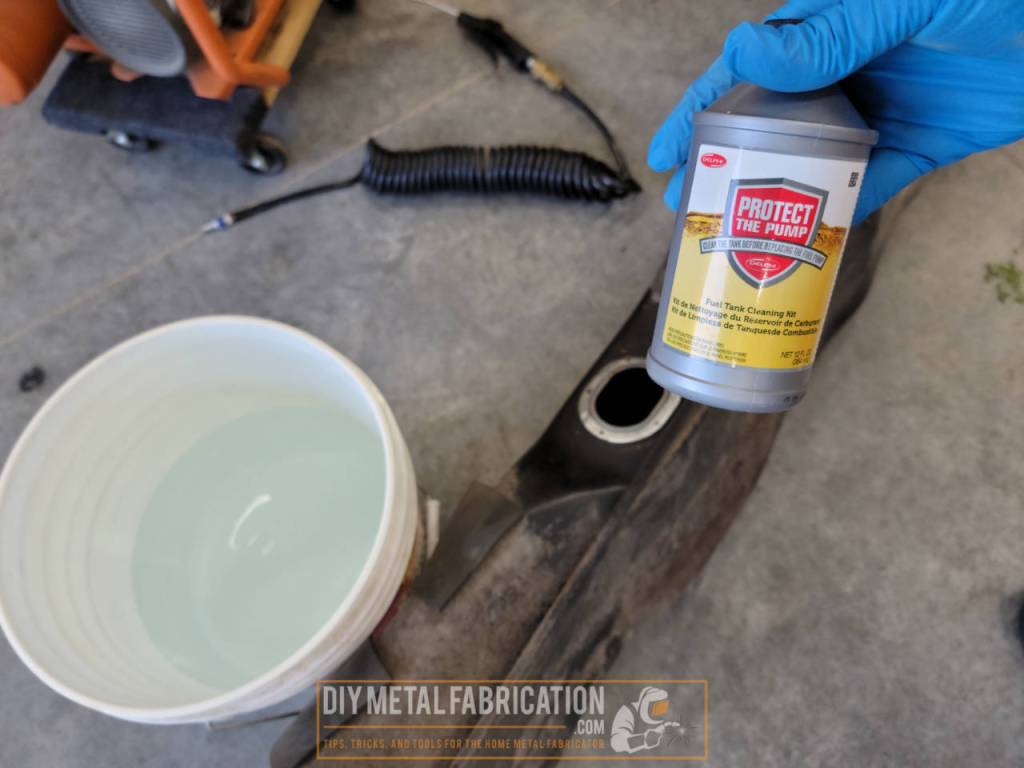
Dumped the solution in the tank then picked it up and sloshed it around for a good 5 minutes. Dumped it back into the bucket and the water was super nasty. I wanted to reuse the solution but not put rust back into the tank so my solution was to pour it through a paint strainer in a funnel. It worked pretty well.Here is just one batch of rust at the bottom of this bucket. There ended up being about 3x this much once I was completely done. I ended up filtering and re-sloshing the tank with the cleaning solution about 5 times before I felt it was good enough. This stuff worked really well.
Reinstalling the new fuel pump
This testing step is probably not necessary but I would have hated to get the tank all the way back in just to realize something still didn’t work.
Once I put the new fuel pump in the bracket assembly, I wanted to test it to make sure everything was good before reinstalling. To do this I put the suction end of the fuel pump in a small bucket of fuel with the outlets of the lines in another bucket. I got as far away as I could with my test leads and gave the pump power with an extra battery. I just ran it for a couple of seconds to make sure it worked and check for leaks that would be internal to the tank. P.S. Always have a fire extinguisher close by!When reassembling the hoses on the tank, I found pretty much all of them looked like this and were unusable.Vent and pressure hoses replaced with some auto parts store bulk hose and I thought I was ready to put it in until I actually tried to stick the tank back in the car…But I ended up cracking the main filler neck hose while trying to stick the tank back in so I replaced that too with a universal bendable hose from the auto parts store.With the jumper still in the diagnostic block and bottle still on the return line, I was able to turn the key to the on position and confirm that I had fuel!
There you have it. Finish hooking up the lines and replacing all the shields and you are done!
Can you do this?
I’m going to say here that this project is probably less about automotive knowledge and more about simply having the grit to get dirty and do it. The diagnosis is easy and the steps are relatively straightforward. Just gather up the motivation and GO DO IT. Keep these old gems going! A couple of nights in a row after work with some buddies would get you going again, and you have the satisfaction of doing it yourself.
Now YOU, go outside and work on something!
Got a project in mind?
If you're tired of getting ignored by big shops or just want someone who actually gives a damn about the build, that's what I do.


I’m now looking at my gas tank sitting on the ground beside my car. Thanks for the help 👍
Glad I could help. Good luck!
Post up here in the comments if you have any further tips/findings and I can add them to the article for others.