Time to weld the winch plate together, make some mounts for the winch solenoid, and get everything permanently attached to PJ our Suzuki Vitara offroad truck!
Previous posts on this winch bumper build in case you missed them:
Building a winch control box mount
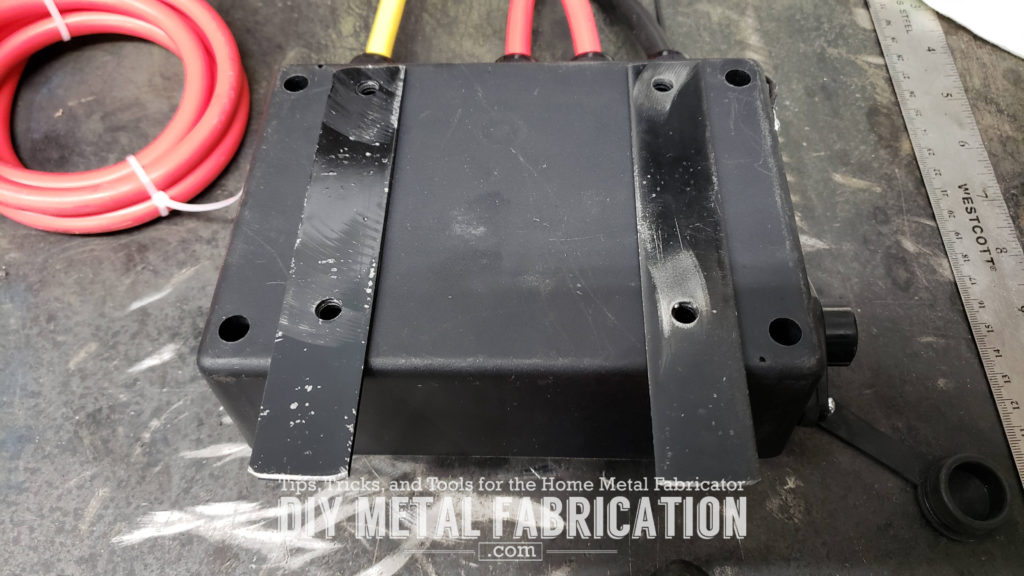
I am not mounting the winch solenoid pack in the factory (intended) location. It came with mounts to hook it to the two lateral bars on top of the winch, but that wouldn’t really work with the way I have the winch shoved into the grill. So now I need to make some brackets to mount the solenoid pack vertically behind the winch.


TIP: Flag bolts are made for assemblies where you can’t get to the backside to hold a bolt/nut. Normally the flag is made out of high strength spring steel. In this case we are just making our own using some 1/8″ thick scrap steel.

IP Ratings
Here is a quick explanation of IP ratings. You might have seen them on your cell phone for example, but what do they really mean?
This winch is IP67 rated. IP stands for Ingress Protection. The first number is the rating for dust. In this case ours is rated as a 6 which is the highest dust rating meaning ‘dust tight’.
The second number is the rating for water ingress. The 7 means the winch is protected from temporary submersion in water ‘3ft of water for 30 minutes’. The highest possible IP water rating is 8 which means it can be permanently submersed in water.

Dielectric grease is specifically created to seal up electrical connections from water, salt, dirt, etc. yet make it so they are still serviceable. If you don’t have some in your shop, you should. The thing I use it on most often is trailer plugs to keep the salt from eating them up in the winter.

Mounting the control box

TIP: If you need to mark bolt holes in locations with multiple bolts that need to line up, put a dab of lithium grease on the end of the bolts and touch the pieces together. This will leave two nice white grease marks you can then center-punch and drill your holes.
Attaching the winch plate


Painting
I am probably not the best person to take painting advice from, so take this with a grain of salt. Currently we are still under quarantine, also I tend to work late at night. I got done welding and went to go paint but quickly realized I was totally out of black spray paint. Not being a quitter, I got inventive…

I keep a quart can of Rustoleum black paint around that is good for painting expanded steel (spray paint just goes right through that stuff). I decided it would work here also. Took an old sock and some mineral spirits and wiped down everything to get it nice and clean. Then I went after it with a 2″ housepaint brush (cheap/disposable so I can toss it when done instead of having to clean it).


Amazon isn’t always the cheapest, but in the case of convoluted (split loom) tubing it is WAY cheaper than any brick and mortar store. I bought a couple hundred feet of it (50ft each 1/4″, 3/8″ and 1/2″) when I was working on my gas tank relocation project and haven’t even put a dent in my stock yet.


The ZESUPER winch seems to work good so far. I have hooked it up and rolled it in and out a couple of times with both the wired and wireless remotes. Guess we will see a real test next time I get out for a wheeling trip. Check it out on Amazon, it is a lot of bang for the buck:

Hope you all are enjoying this so far. It has been a fun project. It is fun to create something that is totally unique. I know there are plenty of Suzukis with winches on them but none are quite like PJ 😀 . Now I just gotta motivate myself to get back out in the garage and finish this project!
Now YOU (and me) go outside and work on something!
Hey man, I love keeping up with everything you’re doing to PJ! I just finished my winch mount on my 99 Tracker, and I’ll be putting on a similar 2″ lift kit this weekend. Thanks for posting up all this stuff since there really isn’t a lot if info out there on these, your manual hub/front diff welding post was super helpful. Keep it up and thanks again for posting!