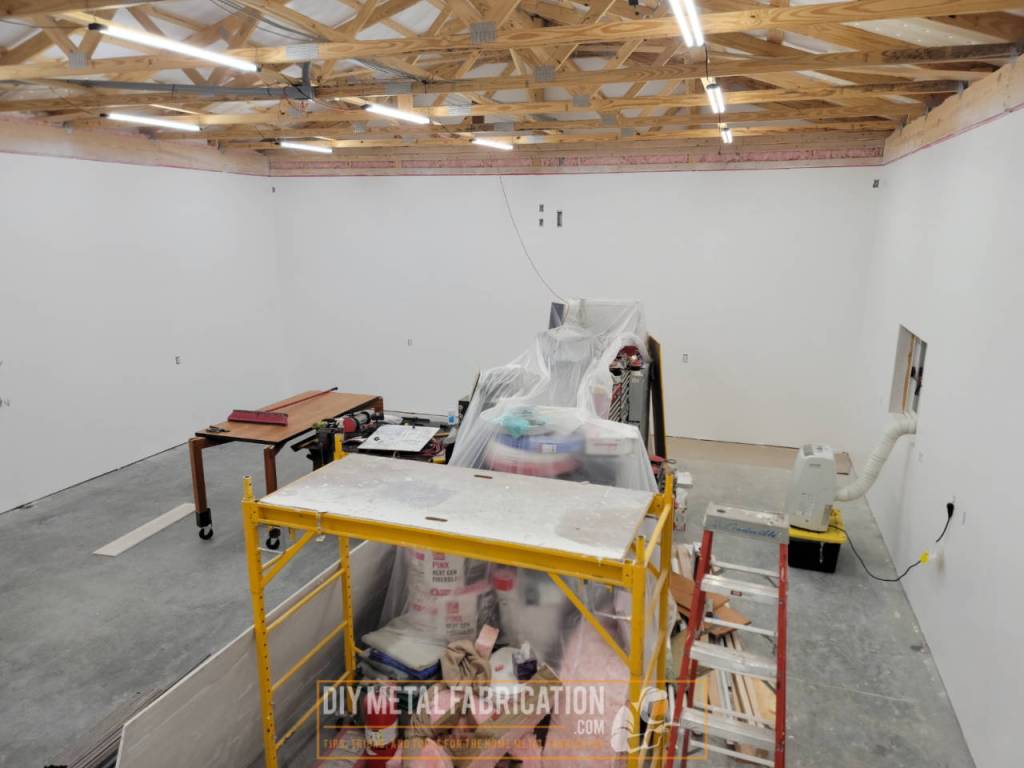
Finally sheetrock! The shop is really starting to shape up on the inside. In this post we get sheetrock and paint then start to show some promise for making a more usable shop/office space! Check it out.
I went through multiple iterations and plans while figuring out my sheetrock. At first I was going to do horizontal sheets three rows high until a buddy pointed out that I had 12′ tall walls to the header and they sell 12′ sheets of sheetrock. Therefore by doing them vertially there would be almost no butt joints which are more challenging to mud and sand.
Called a couple of contractors, most never called me back. My wife ended up finding a local handyman on facebook that enlisted his dad to come help him with the project. I think it was a bit of a big project for them but they did a great job and got around it in about 6 days of labor x 2 people.


Each sheet of 4x8x12′ is 5/16″ thick and weighs ~106lbs. I had built this abomination of a cart using some lumber, a 3/4″ thick board across the bottom, and some caster wheels when I was thinking if I had to do it myself I was going to need some help. Since my wife ended up finding this crew to do the work it wasn’t as big of a deal. They used the cart for the first wall until they got in the rythm and figured out they could lift and move the panels by hand.


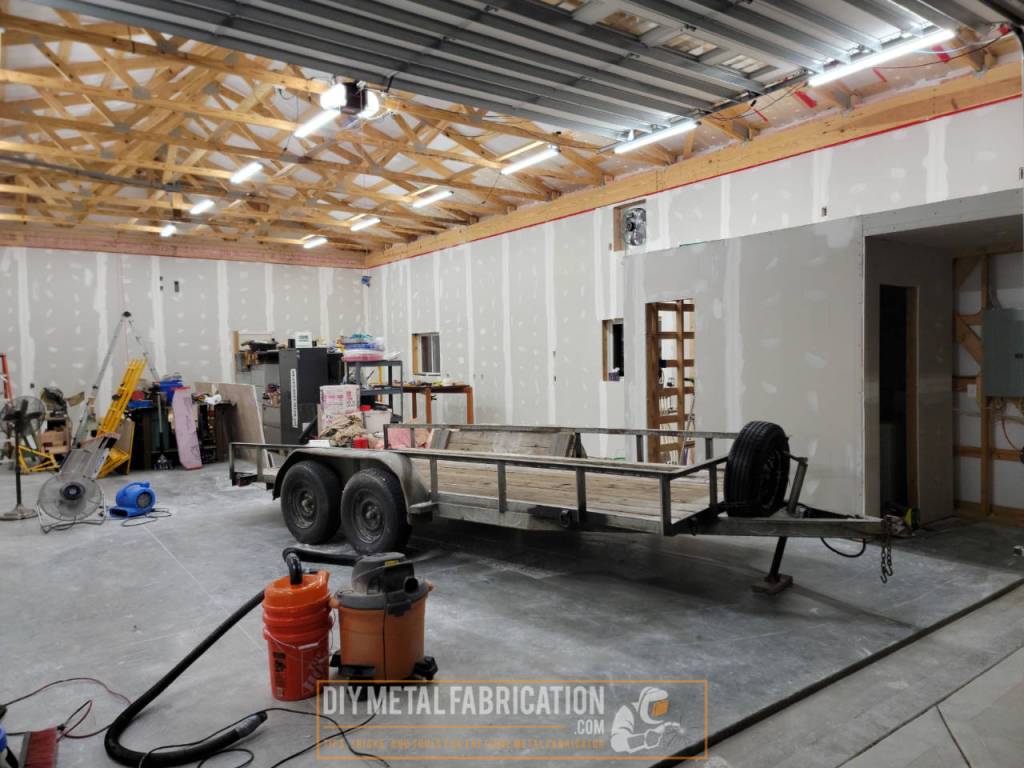


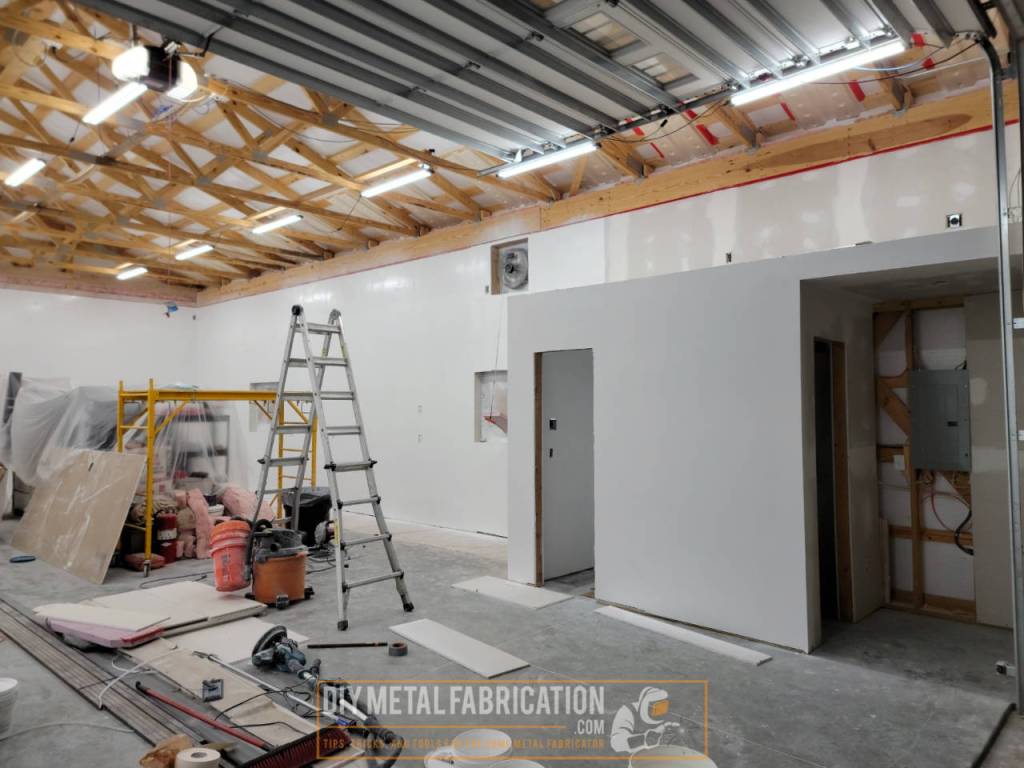
Background for those of you that might not have been following from the beginning. This little room here was originally going to be part of a full bathroom which is what I had it plumbed for in the concrete. After now having the shop up for nearly 2 years, I have had almost no need to take a shower out here, so I am turning it into a small room where I can put the water heater, my air compressor, and anything flammable like a drill / car battery charging station.
It really kills me on the inside when I see posts online about garages that burned down with lots of projects and cars inside. I have gone way out of my way to make this shop as fire safe as possible. I have done fiberglass insulation, 5/8 fire rated sheetrock all around, overkill heavy duty wiring / circuits, fiberglass outlet boxes (for almost all of them), etc. Lots of people get away with exposed spray foam insulation in shops but I just can’t do it that way, I’ve gotta know that all these dumb (but fun) projects I have put so much life energy into won’t end up in a ball of fire. Not to say it couldn’t happen, but my goal is to at least minimize the risks.


I’m not going to lie, this part has been kind of rough on me. I am out working on or in the shop a good 3-4 nights a week after work and putting the kids to bed, it has been pretty exhausting. Don’t get me wrong, I realize that I am quite fortunate to be able to do this project, I am over the moon excited for how it is turning out. However money doesn’t grow on trees so I am trying to get the nicest result possible with the minimum amount of $ put in which means there is A LOT of sweat equity invested.
The worst part and final deciding factor for me hiring out the sheetrock is that I was stepping off a ladder and stepped right on a tape measure on the floor and rolled my ankle pretty bad. I was mostly immobilized for a week (luckily my day job is just staring at a computer all day), then was pretty limited with how much I could do for a couple of weeks later. It has been over a month now and I am no longer wearing a brace but it still hurts if I overdo it. It is quite life changing to go from healthy as a horse to having a long term pain/health issue. I am really hoping for a full recovery but fear that my ankle will never be quite the same.


Throwing some paint!

Taped off the window and all the outlets. no need to tape off the header at the top because it will be covered eventually anyways.


The storage bucket was my hack for not having to empty the tank as often. I just popped a couple of holes in the top of it and let the air conditioner drain into the storage container. Worked great and was more like a week between empties instead of daily.


So here is my conclusion after this stage. The sheetrock is turning out GREAT and looks awesome, but it cost me way more in labor than I was expecting. This is partially because I was planning on doing the labor myself with help from my Dad, up until I lost my Dad in January from Covid then proceeded to spring (sprang?) my ankle very badly right around the time I was ready to do sheetrock… In hindsight, I should have just had the pole barn company insulate and hang a metal liner on the inside right after they built the shop. Though it wouldn’t have been as cool/custom, it likely would have came out to around the same price and A LOT less effort and time on my part.
Oh well, live and learn. I still don’t regret it. It is a labor of love, I just don’t have as much time and patience as I would like to fit it all in. Stay tuned though, I am working on some super fancy shop features that you have likely never seen before.
Now YOU, go outside and work on something!