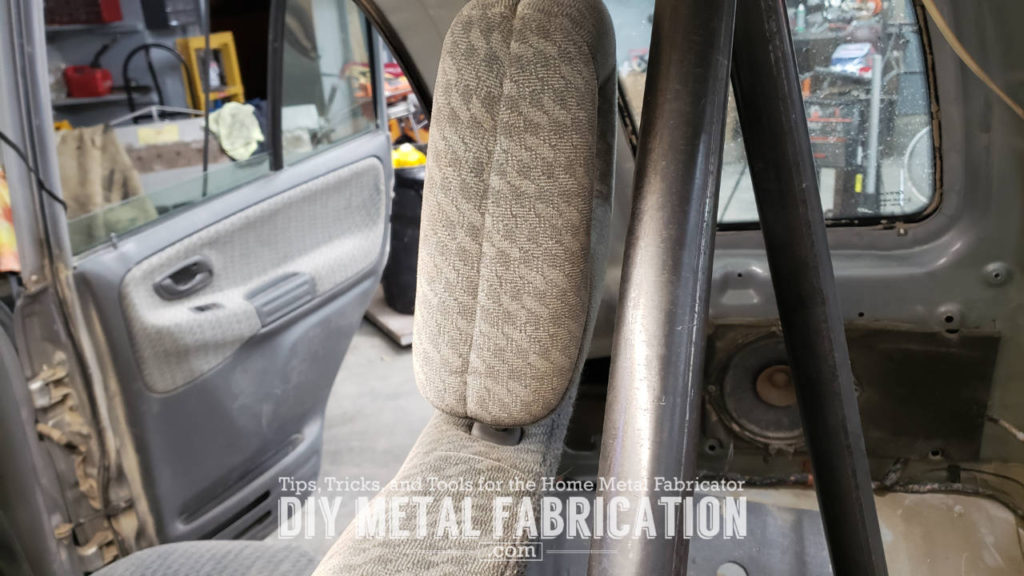
Here we finish up the roll bar with an X and some rear kickers for support. in the back of my Suzuki Vitara ‘PJ’.
We left off part 1 with an even bigger hole in the floor, roll hoop built and one crossmember. Today we put in the other cross brace and a couple of down tubes. We also start to figure out how we are going to re-package the fuel tank so it is safe and separate from the passenger compartment.
One thing that was more challenging than I had anticipated was figuring out how to make the other side of the X as straight as possible since it is two pieces. The best solution I figured out was to grab my laser level and tripod.


The orange Black & Decker STILL has the same diamond cutoff wheel on it. I don’t think I am up to 1,000 cuts but I bet I am definitely over 100. The big orange Dewalt 7″ grinder just has an abrasive wheel on it for shaping, and the Metabo has an 80 grit sanding flap wheel on it that is great for the finishing touches.

At this point, I test fit the gas tank again and figured out that my giant hole in the floor still wasn’t big enough.


Ever wonder why custom roll cages and race cars are so expensive? I bet I test fit the rear kicker tubes 25 times EACH. It was exhausting. There is just so many labor hours required in custom work that it really adds up.


So now we have a full blown roll bar!
As I mentioned in Part 1, this first section isn’t a full roll cage, more of a roll bar for the time being. I have future plans convert it into some kind of full inner/exo/roof rack roll cage. Still thinking about what I eventually want, but for now I at least wanted some extra support in the back where my kids are sitting.
Next step is to plumb up the fuel tank and build a sheetmetal housing around the tank to separate it from the passenger compartment.
Hope you enjoyed. Now YOU, go out and build something!