Making some HUGE progress. More final grading, framing the walls, and (more) electricity! Check this post out for lots of pictures and some stuff I screwed up along the way.
Finally back to working on the shop. Now that it is starting to get cold outside I am motivated seal this thing up before it gets too cold!
Some yard and dirt work
Finishing up some stuff around the yard to start with. The rocks in the ditch below are leftover concrete washout from the driveway and other concrete pours that I didn’t know what to do with. I thought it turned out pretty good.

Gertrude and I were pretty proud of ourselves (it was HOT)
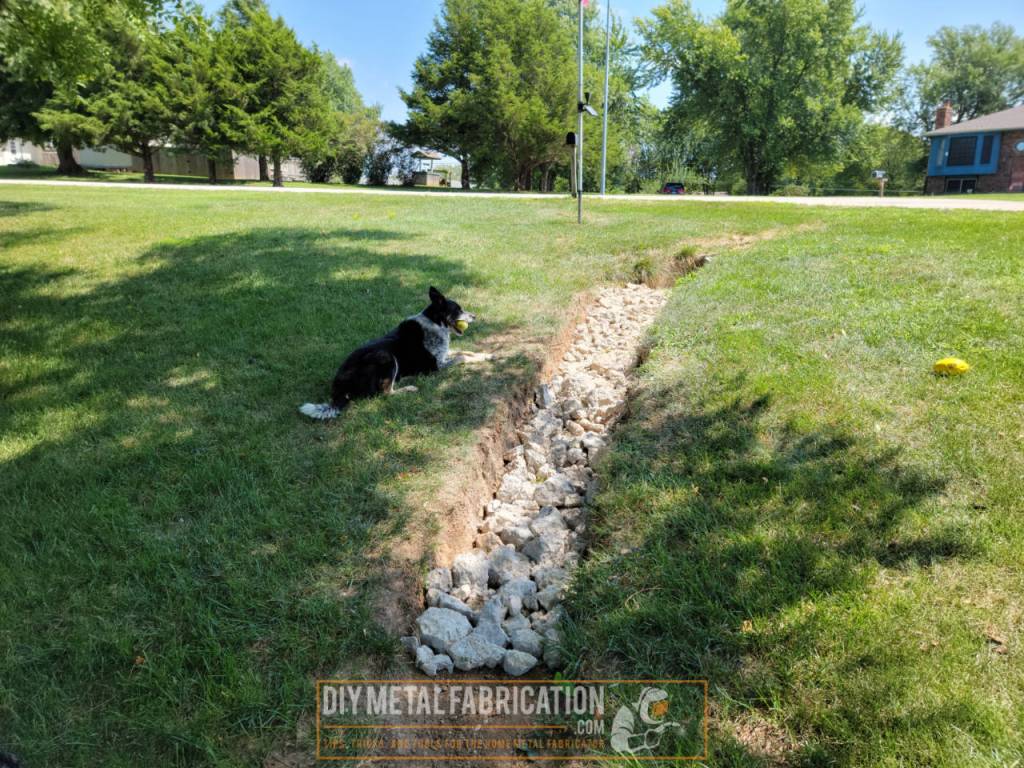
It was somewhat labor intensive breaking them up into smaller pieces with a sledge hammer though.
MORE fill dirt
I am getting so close to being done with final grade. The east side is done and graveled. Here we are bringing in dirt for the west side to flatten out the grade a little. It was A LOT of work and really could use another 2-3 yards (saving that part for ‘another day’).

The new truck pulls it like its no big deal.


This actually took about a week. I got 1/3 of the trailer unloaded then it rained for a couple of days and I had to wait for it to dry out so I could finish. One shovel scoop at a time!

The spot with the orange posts are where the septic tank lid is.
The slope is still a bit more than I would like before seeding, so I will likely grab another trailer load here in the next couple of weeks.
Fixing an oopsie

“A true tradesman knows how to fix his mistakes”
– an old timer welding guy told me this when I was about 18
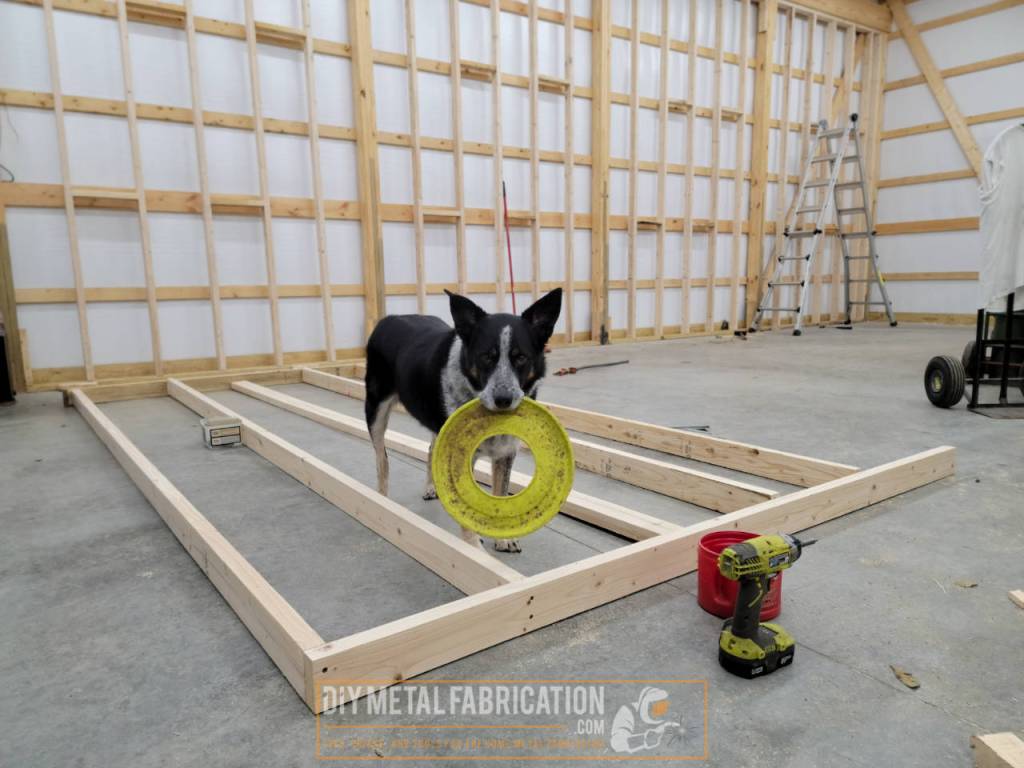
Getting ready for framing!
What a mess…

Moved 1/3 to the basement, 1/3 to the attached garage, and the last 1/3 I will show you how I made it mobile so I can move it around at will.


I found I could do 2 walls a night by myself working about 2-3 hours. All of it is screwed together.
Tip: When buying screws, don’t be cheap. I bought the ‘premium’ 3″ 9 gauge screws that have the self drilling tip. They are more expensive but I almost never have boards split on me when using them.


This time I was too lazy to hook up the trailer. Turns out I can load 12’ers with the middle row folded and they only hang out a couple of feet.


How to make filing cabinets mobile in a shop without casters!
My filing cabinets were cheap (most of them were either free or <$20 on FB Marketplace). It would be a waste to put expensive caster wheels on my cheap cabinets. Since I have a narrow pallet jack (Traded a mini fridge and some other junk for it) I can finally execute on my grand plan!

Ground contact ‘weather treated’ might be overkill but I figured since it will be touching the shop floor and might get water or salt water runoff from vehicles that it was cheap insurance in the long run.


Now that those are out of the way, back to framing

My buddy John came over this night and we knocked out almost 5 walls but stopped due to me needing to frame the windows.

This is a friendly reminder to double check the length of your boards when you get them from the hardware store.
We cut the above studs using our standard template, built a wall, went to throw it up, and it didn’t fit. Turns out our boards were 1/2″ longer from the factory so I partially disassembled and trimmed them all. Well, one of the boards was from the previous batch that were correct and was now 1/2″ too short. Filled it back in with the cutoff from the ones that were too long. Nobody’s gonna know.


My plan is working perfectly Muhahahahahahahaha…


Electrical!
Had the electricians come back over and add outlets to the rest of the shop now that I have it all framed up. There is basically an outlet per post all the way around plus I also had them wire in another 220v that will work for my welder but is intended to eventually supply a 2 post lift.


That is all for now! I have a final rough in electrical inspection scheduled for next week, then I can start insulating and finish up some small framing details. It has been an exhausting couple of weeks but also satisfying and rewarding. I know WAY more about framing than I ever did. Once you unravel some of the mysteries, most of this stuff isn’t too big of a deal. Gotta teach yourself to be a youtube and google expert, most of the answers are out there and relatively easy to find.
Thanks for coming along with me on this journey! Still lots more to come.
Now YOU, go outside and work on something!
Got a project in mind?
If you're tired of getting ignored by big shops or just want someone who actually gives a damn about the build, that's what I do.
Let's talk →