Today we tackle some dirt work, gravel, vapor barrier, gutters, and some temporary lighting! Snow and rain won’t stop us (though we got both).
We left off part 6 with the building crew having finished their part on the building. Now it is up to me to get some dirt and gravel delivered then start prepping for concrete.
Tip on contractors and scheduling
Get used to not knowing when the contractors will show up. It is an interesting dynamic because technically the homeowner is the “general contractor”, but the pole barn sales rep schedules everything that was on the contract. When one crew finishes up, the rep lets the next crew know that they can start at their next opportunity.
Examples
For example, one day I took the day off and started moving the dirt I had delivered. Shortly after, the below gutter truck pulls in the cul-de-sac and gets started (I had no idea they were scheduled to show up). But, since the building was complete, it was logical that the gutter guys could then come. It was fine because they weren’t there very long and I just worked around them.
The next day I get the gravel I had delivered and let my rep know it was there so he could let the concrete guy they contracted know. Four hours later 5 trucks pull into my cul-de-sac in unison with a skid steer in tow. They have all the gravel spread and crew gone in less than an hour. Awesome! But again I had no idea they were going to show up then, good thing I was ready and at home to confirm the specs with them.
Conclusion
I’m not mad, I just wanted to give some examples what to expect if you ever do a project like this. Don’t always expect communication on every step, but don’t bug the crap out of your builder either (I tried not to). Be as prepared as possible and try to be around when the contractors are there. I always asked my rep what step was next and what I needed to have done before the next contractor showed up. Do your homework, take notes, and ask lots of questions.
Gutters!


The gutters are typically spec’d on the building drawings. The gutters on the building itself are built level with a drain at either end. However in my case with the breezeway there were a couple of different ways we could do it. I decided to put the downspouts for the breezeway on the house side which makes them not visible from the street. It is good to be around when the contractors are working in case they have any questions.
Backfilling around the outside of the shop
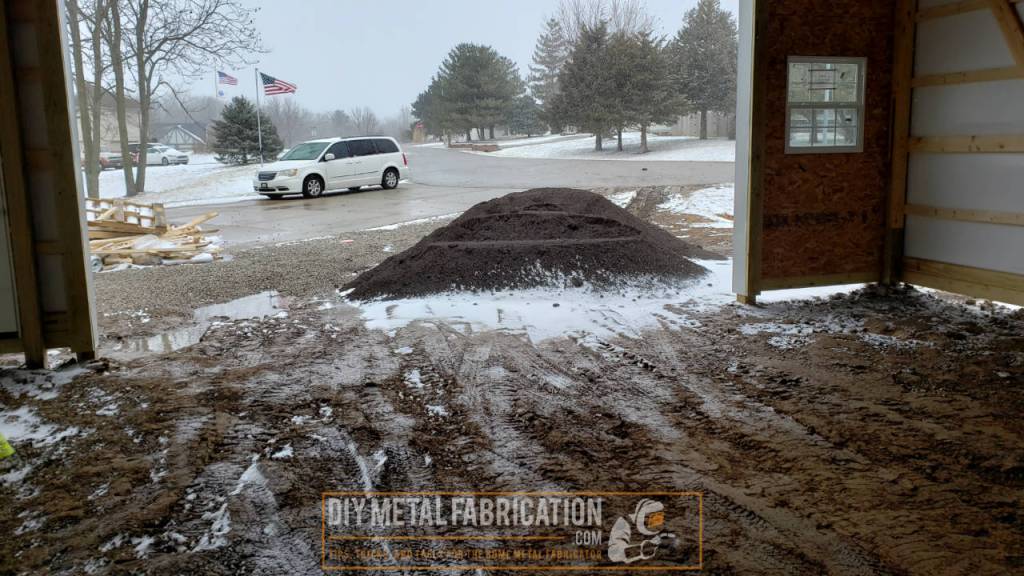
I made an executive decision here and decided to order dirt before gravel in hopes of keeping water on the East side (left) out of the shop. In hindsight though I should have done it the other way around and ordered gravel first.
Since I had the dirt dumped in front of the shop, I couldn’t have the gravel delivered until the dirt was moved. So I decided to take a day off work to get the dirt moved then order gravel. Again, it worked out fine but I could have saved myself some hassle since I was limited on material delivery areas.

My shoulders hurt just looking at this picture 😛

Random thought… about zero turn mowers
I feel like zero turn mowers are capable of more than people give them credit for. Yes they are not a ‘tractor’ in the traditional sense but other than not being able to put a plow in the front, my zero turn has done everything I ever needed/expected it to. Since each rear wheel is independently controllable it makes backing up trailers really easy and doesn’t get stuck. Also, I haul some serious butt when mowing (I think it is rated at 7 or 8 mph).
Check out my article here for when I built a 2″ heavy duty receiver hitch for it: https://www.diymetalfabrication.com/diy-zero-turn-mower-receiver-hitch/


Gravel delivery
Here is a note on gravel. About a year ago WAY back when we started this process, my rep told me to order 3/4″ gravel for fill before concrete on the inside. This is exactly what I ordered, but it turns out the concrete guys HATE gravel this big and I didn’t confirm with my rep again before ordering (his suggestion had changed over the last year). According to the concrete guys, the bigger gravel is hard to work with and spread out. Having now worked with it myself, I also agree with them. It turned out fine in the end though.
I believe there is a smaller size that we should have ordered which is 1/2 to 3/4″. Be sure to double check with your sales rep and/or concrete contractor (if you have the concrete guy’s number, otherwise you will just have to rely on the sales rep) on what size to order before ordering it.


Determining the height of the gravel
On pole barns, the top of the concrete is at the line between the two skirt boards. Therefore the crew spreading the gravel was able to just pull a string line between the walls and measure down to determine where the top of the gravel should be. This can also be done with a laser but since the building is already level it is easier to just pull a string line if you have multiple people. In my case I have 5″ of concrete and 2″ of foam for my heated floors, so the top of the gravel is 7″ from where the top of the concrete will be.


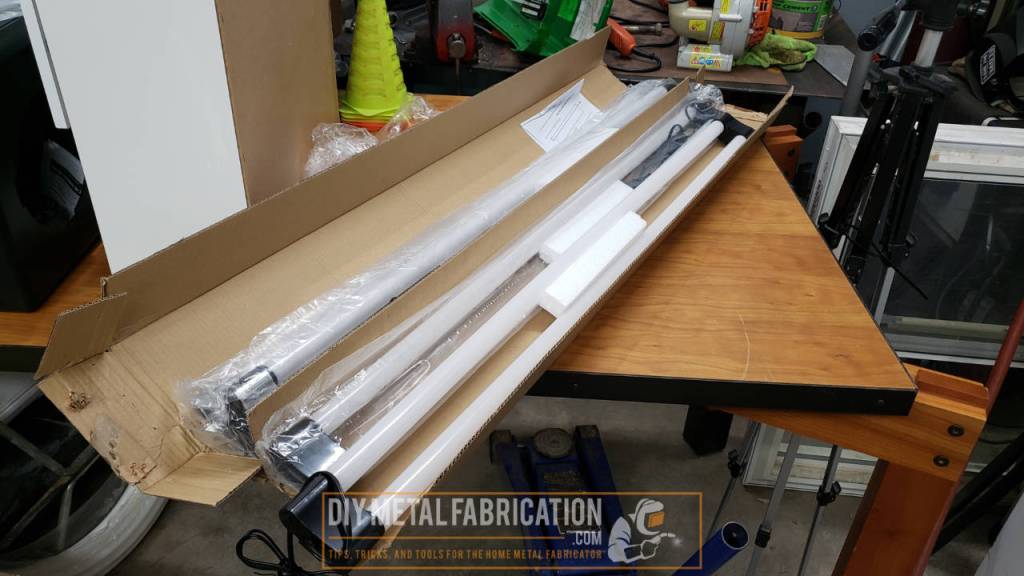
Check these lights out at the link below. I have had these in my attached garage since 2018 without a single failure. You can check out my more detailed writeup on them in Shop light install Part 1 and Part 2.

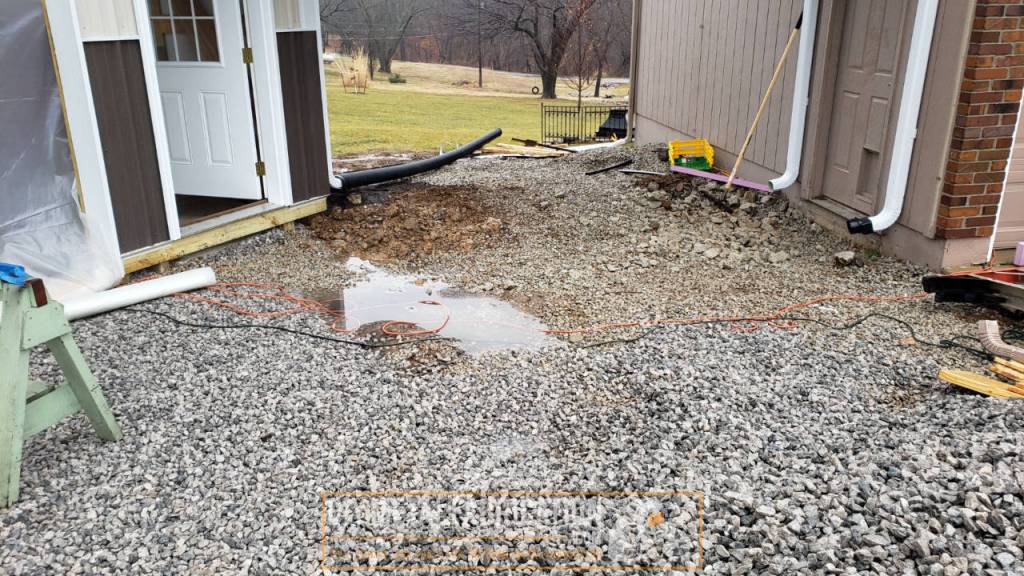
Drainage Dilemma
Be sure to pay attention to the weather and have a plan. Despite the fact that it is January we have had some days with A LOT of rain lately. Below are some of my sad attempts at temporary drainage, but it seems to be OK so far and we are getting through it.

The breezeway is AWESOME! I had to build it to satisfy the city, but now that it is there I have got to say it is pretty great to be able to walk back and forth to the shop without getting rained on.

Here on the east side of the shop I am eventually planning on renting a mini excavator and digging a trench to put in a 4″ perforated drain pipe and gravel for a French drain. During planning, I didn’t want to raise the shop any higher than I had to, so I knew I was going to have this problem. We will get it fixed one way or another.

That’s it folks! Lots of progress so far and a bit more stress than I would like to admit, but it will all be worth it in the end. I am to the point where I am ready for this project to be complete (or at least the major parts of it).
Tune in next time where we will start laying the foam and tubing for the heated floors.
Got a project in mind?
If you're tired of getting ignored by big shops or just want someone who actually gives a damn about the build, that's what I do.
Let's talk →