Today we trench with a mini excavator, have footings poured for the future bathroom, make a drill bit, and the crew gets the walls up and framed in one day!
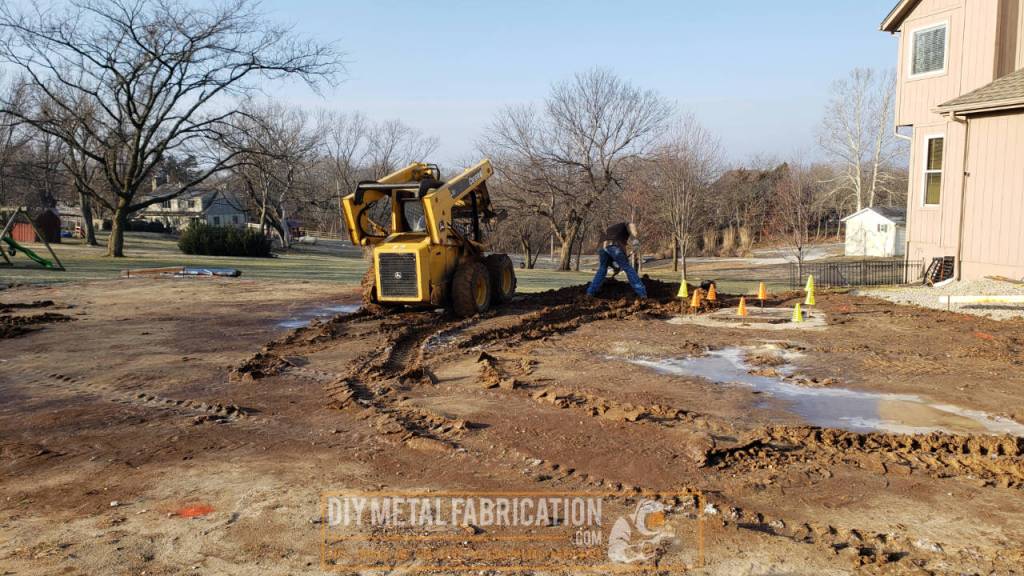
After what seems like forever, the build process is finally beginning! First up was some pre-work which included trenching from the house over to the building for some plumbing.

I’m not ganna lie, after my buddy and I got this mini x off the trailer and made a couple of scoops we were concerned if it was going to do the job. Seemed like this thing had no guts and it would take forever to dig this trench. Turns out that we just needed to get used to it and learn which sticks to ‘jiggle’ at the right time to get the little guy digging effectively. After about 30 minutes we got the hang of it and were off to the races.


Finding the limits of DIY
I am DIY’ing all parts of this build that I feel comfortable doing to try to save money. This shop could easily cost double what it is going to cost if I hired everything out. For example I did the trenching from the house to the shop and also the holes through the foundation to run the hot/cold water through.
The holes through the existing foundation required a ~1″ concrete bit but the biggest I could borrow was 7/8″. I looked at a 1″ bit at the store but it was $50 and I only had to drill two holes… So instead here is the story of how I made a concrete bit out of some stuff I had laying around.

THIS IS HOW YOU LEARN! I straight up failed at this project multiple times but with some determination I eventually got it to work. I cost myself about an hour and some curse words were mumbled, BUT learned a lot and saved $50. All I as trying to do was hog out the holes from 7/8″ to ~1 1/8″.
- V1 – Three 1/2″ bolts welded together. Welded some tips on the points of the hex and put a slight cone on it to help it go in. Result – Failure (wouldn’t make any progress in the concrete, just lots of fine dust)
- V2 — Put more of a tip on it – still Failure

- v3 – The bolt kept getting loose in my drill chuck so I welded a socket on the first bolt and chucked a 3/8″ socket driver in the drill instead. Result – small win
- V4 – still not making progress in the concrete. Sharpened the 6 points to increase contact pressure at the point. Result – Failure
- V5-V7 – more of the same (ran upstairs ground some more, run downstairs and test, repeat). Result – better but still not great. At this point my hammer drill is hot and not very happy with me
- V8 – I looked again at the actual concrete bits and realize they only have 2 points on them for a reason. So, I try something new and cut off 3 of the points to make the drill bit only have 3 total points. Result – SUCCESS!

It is totally hack. I was rushing and the bolts weren’t even straight with each other. The whole bit is ugly and will likely get thrown in the scrap bin. BUT IT DOESN’T MATTER. The important part is that it got the job done (safely), I learned something, and saved some money. Obviously I could have just bought the real bit and saved some time but that just seemed too… easy.


Tip from my plumber – Always use gravel under PVC drain pipe because it wont’ settle as much as dirt will. If you use dirt and it settles the PVC can snap off at the point where it goes through the footing/foundation.

Framing the shop
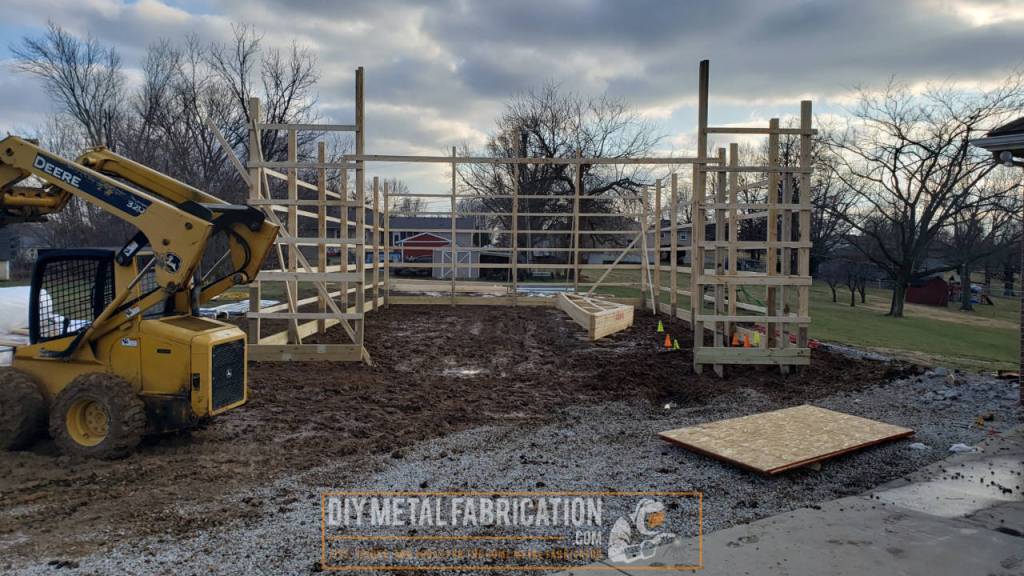
After many months of waiting, the crew was finally ready to start on my project. Of course a couple of days before the crew showed up, it snowed ~5″ then proceeded to pour rain to the point where there was standing water on the building pad…

Finally the shop build day came Fri Jan 8th. The crew showed up at 7:45, we reviewed a couple of things like position, placement of some things, and a rough timeline, then they got started right away. Turns out my building is scheduled to be built in 4 days! (excluding concrete and other stuff other contractors will be doing). I was told that most smaller buildings can be up in about 2 days.


There are a couple of design changes that help new pole barns last even longer. Pole rot is always a concern with pole barns. Over the years builders have discovered that the poles do not need to be in concrete, they are just fine in dirt (the concrete retains moisture and actually makes the wood rot quicker).
These are the newer style ‘laminated’ posts. They are actually three layers of boards glued and nailed together, if I remember correctly these ones have a 50 year warranty on them! When these used to be made from one post the weather treating couldn’t go all the way to the middle because the wood was too thick. Thinner boards = more effective treatment.


That is a wrap on build day one. The building is coming out great. I love the angle off the driveway, it will make it really easy to access and back trailers in, etc. Thanks for reading, stay tuned for the next update!
Now YOU, go outside and work on something!
Got a project in mind?
If you're tired of getting ignored by big shops or just want someone who actually gives a damn about the build, that's what I do.
Let's talk →